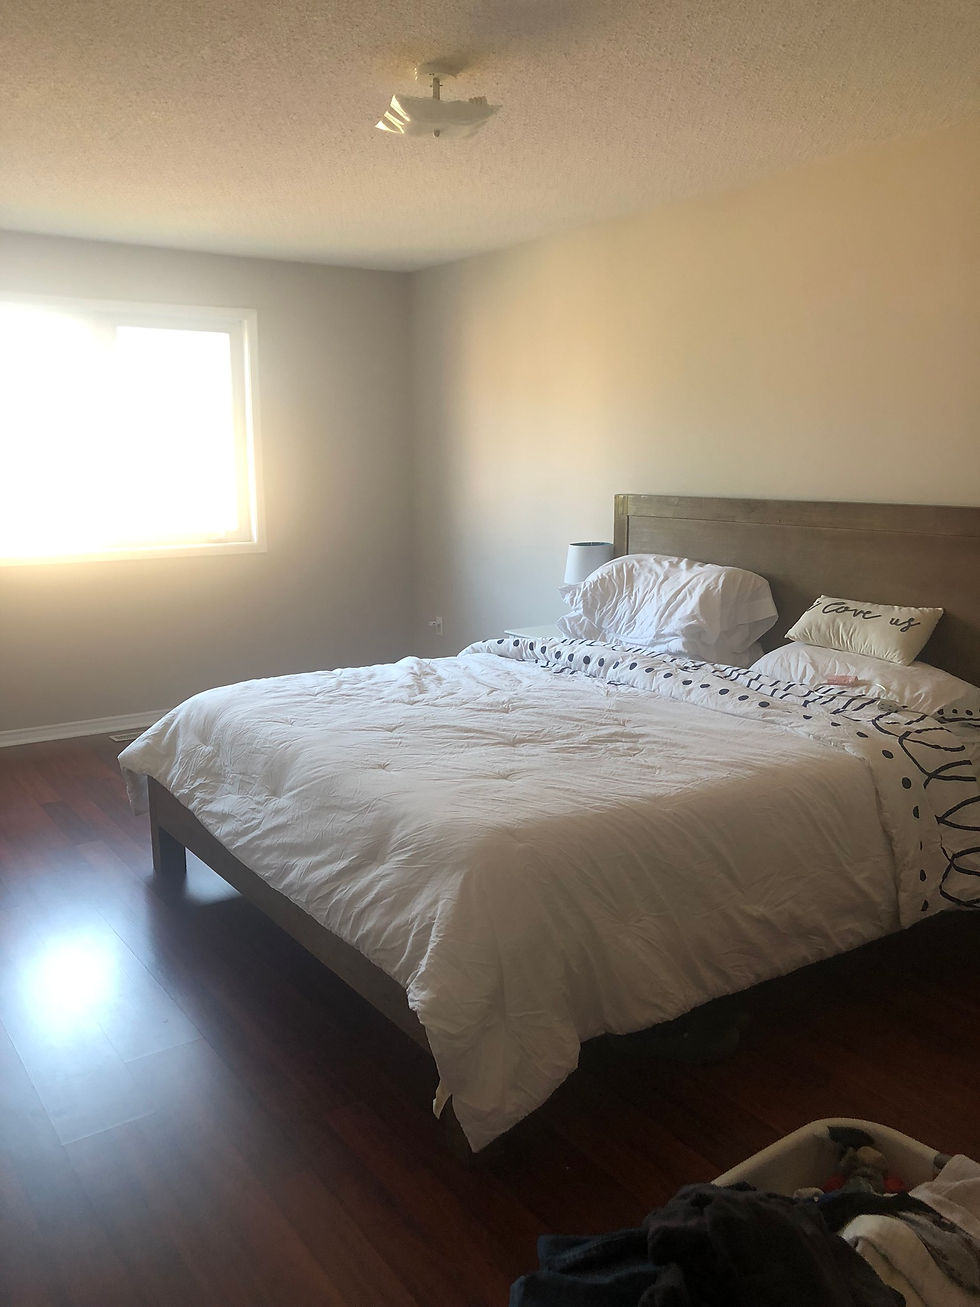
Bedroom Accent Wall (Herringbone)
- Sarah Ames
- Jan 18, 2021
- 3 min read
Updated: Jun 22, 2023

This wall. I can’t say how much I adore it. I love how the “herringbone” pattern provides so much character to the room. I’m so pumped to show you how to create this bedroom accent wall because it completely changed the entire mood of our bedroom and I’m here for it! The paint colour I used is a really dark moody Blue (Hale Navy by Benjamin Moore) which upped the coziness factor a ton.
I was pregnant at the time we did this wall – so my role was mostly design. My parents did the heavy lifting, so nice right? I mention this because the design isn’t terribly challenging but having an extra set of hands will be helpful, especially when attaching the boards. If I haven’t convinced you yet to tackle this project, take a look at the steps below and you’ll see how simple it really is. I even included the formula to figure out your dimensions as that may be the hardest part. Ok, here we go!
Supplies:
Everything you need to create your Bedroom Accent Wall
Jig saw
Miter saw
Wood filler
Painters tape
Tape Measure
Paint & Paint Brush (I used Hale Navy by Benjamin Moore)
Adhesive (I used All Mighty by AFM SafeCoat. If you’re looking for a non-toxic, environmentally safe option this is a great option)
Let’s do this!
How to Create your Bedroom Accent Wall
Create your border
Measure the total width of the wall in inches (see dimension A below). Then, cut your boards to this length. These will serve as the top and bottom board pieces. Next, you want to apply your adhesive glue to the back of the board and attach it to the top of the wall. Repeat this for the board on the bottom of the wall (right above your baseboard). Hold for 30 seconds.
Use your nail gun every 10-20 inches or so to secure the board.

Design (Vertical Boards)
Pick your design. You will need to decide how much space you want between each vertical board.
In my design phase, I placed painter’s tape in lieu of the wooden boards on the wall. This gave me an idea of how my design would look.
Once you are satisfied with your design, you can use the following formula to determine the width of each wall section:
Total width of wall (inch) / # of Sections on wall
(228 / 4)
= 56 inches (width of each wall section)
This resulting measurement will be the measured distance from the edge of the board to the edge of the adjacent wood piece (see dimension B below)
Cut and attach vertical boards as you did in step 1 of Create your Border.

You’re so close! Your bedroom’s new accent wall is in sight. Next you’ll move onto the angled boards which brings the herringbone pattern to life!
Design (Angled Boards)
1. Choose your preferred angle pieces to complete the herringbone pattern. After you know your angle, mark them on the vertical boards with painters tape. This will help keep your pattern consistent.

2. Now that you know your desired angle, cut with your mitre saw. Then attach the boards to the wall with adhesive and your nail gun.

4. Fill the nail marks with wood filler and any joints or gaps with Dap. After they are dry, paint your wall and boards with your desired colour. My wall and boards were painted prior but you can choose to paint them after as well. This is a personal preference.
Note: When I finalized my design, I noticed one of my boards would hit an outlet on the surface of the wall. Not to worry! I used a jigsaw to cut a section of the board around the outlet to ensure the pattern stayed consistent.
And there you have it – a beautiful bedroom accent wall. This herringbone design is inexpensive but comes with huge impact. I can’t wait for you to get started on your own and when you do please share with me on Instagram.


Comments